浅尝 MinIO 存储

浅尝 MinIO 存储

严少安 Lv.6

MinIO 是一个开源的分布式对象存储服务,使用 Golang 编写,支持 S3 兼容的对象存储协议。MinIO 旨在为用户提供简单、高效、可靠的对象存储服务,可以用于构建云存储、数据备份和容灾等应用。本文将介绍 MinIO 的安装和配置方法,并通过一个简单的示例演示如何使用 MinIO 进行对象存储。

minio0.png

安装 MinIO

本文使用的是 MinIO 当前最新版本 RELEASE.2023-08-04T17-40-21Z

  • 二进制安装

从官方网站下载 MinIO 的安装包,根据操作系统选择相应的版本。
解压安装包,并将执行文件路径添加到系统环境变量中,以便在命令行中访问 MinIO 命令。
启动 MinIO 服务,使用以下命令:

1
minio server /path/to/mount

其中,/path/to/mount 是你要存储数据的目录。

  • Docker 开箱即用

当然,可以更简便的使用 docker 来启动 MinIO 服务。

1
2
3
4
5
6
7
8
9
10
11
12
docker pull minio/minio

mkdir -p ~/minio/data

docker run \
-p 9000:9000 \
-p 9090:9090 \
--name minio \
-v ~/minio/data:/data \
-e "MINIO_ROOT_USER=minioadmin" \
-e "MINIO_ROOT_PASSWORD=minioadmin" \
minio/minio server /data --console-address ":9090"

运行 MinIO

创建好数据目录,并下载好 docker 镜像就可以启动了。启动日志如下:

1
2
3
4
5
6
7
8
9
10
11
12
13
14
15
16
17
18
19
20
21
22
23
[shawnyan@centos7 ~]$ docker run \
> -p 9000:9000 \
> -p 9090:9090 \
> --name minio \
> -v ~/minio/data:/data \
> -e "MINIO_ROOT_USER=minioadmin" \
> -e "MINIO_ROOT_PASSWORD=minioadmin" \
> minio/minio server /data --console-address ":9090"
WARNING: Detected Linux kernel version older than 4.0.0 release, there are some known potential performance problems with this kernel version. MinIO recommends a minimum of 4.x.x linux kernel version for best performance
Formatting 1st pool, 1 set(s), 1 drives per set.
WARNING: Host local has more than 0 drives of set. A host failure will result in data becoming unavailable.
WARNING: Detected default credentials 'minioadmin:minioadmin', we recommend that you change these values with 'MINIO_ROOT_USER' and 'MINIO_ROOT_PASSWORD' environment variables
MinIO Object Storage Server
Copyright: 2015-2023 MinIO, Inc.
License: GNU AGPLv3 <https://www.gnu.org/licenses/agpl-3.0.html>
Version: RELEASE.2023-08-04T17-40-21Z (go1.19.12 linux/amd64)

Status: 1 Online, 0 Offline.
S3-API: http://172.17.0.3:9000 http://127.0.0.1:9000
Console: http://172.17.0.3:9090 http://127.0.0.1:9090

Documentation: https://min.io/docs/minio/linux/index.html
Warning: The standard parity is set to 0. This can lead to data loss.

如果一切正常, MinIO 服务将启动并运行在默认的9000端口上。可以通过访问 localhost:9000 来访问 MinIO 的 Web 管理界面。

minio-admin.png

在 MinIO 的 Web 管理界面上可以直观的进行操作,比如创建存储捅。

minio1.png

查看存储桶的状态信息。

minio2.png

使用 MinIO 客户端 mc

下载 MinIO 客户端二进制文件,并移动到 bin 目录下。

1
2
3
wget https://dl.min.io/client/mc/release/linux-amd64/mc
chmod +x mc
sudo mv mc /usr/local/bin/mc
  • 通过下面命令进行初始连接配置。
1
2
3
mc alias set local http://127.0.0.1:9000 minioadmin minioadmin
mc admin info local
mc config host ls
  • 查看客户端版本和连接信息。
1
2
3
4
5
6
7
8
9
10
11
12
13
14
15
16
17
18
19
20
21
22
23
24
25
26
27
28
29
30
31
32
33
34
35
36
37
38
39
40
41
42
43
44
45
46
47
48
49
50
51
52
53
54
[shawnyan@centos7 ~]$ mc --version
mc version RELEASE.2023-08-01T23-30-57Z (commit-id=0a529d5e642f1a50a74b256c683be453e26bf7e9)
Runtime: go1.19.12 linux/amd64
Copyright (c) 2015-2023 MinIO, Inc.
License GNU AGPLv3 <https://www.gnu.org/licenses/agpl-3.0.html>
[shawnyan@centos7 ~]$ mc alias set local http://127.0.0.1:9000 minioadmin minioadmin
mc: Configuration written to `/home/shawnyan/.mc/config.json`. Please update your access credentials.
mc: Successfully created `/home/shawnyan/.mc/share`.
mc: Initialized share uploads `/home/shawnyan/.mc/share/uploads.json` file.
mc: Initialized share downloads `/home/shawnyan/.mc/share/downloads.json` file.
Added `local` successfully.
[shawnyan@centos7 ~]$ mc admin info local
● 127.0.0.1:9000
Uptime: 1 hour
Version: 2023-08-04T17:40:21Z
Network: 1/1 OK
Drives: 1/1 OK
Pool: 1

Pools:
1st, Erasure sets: 1, Drives per erasure set: 1

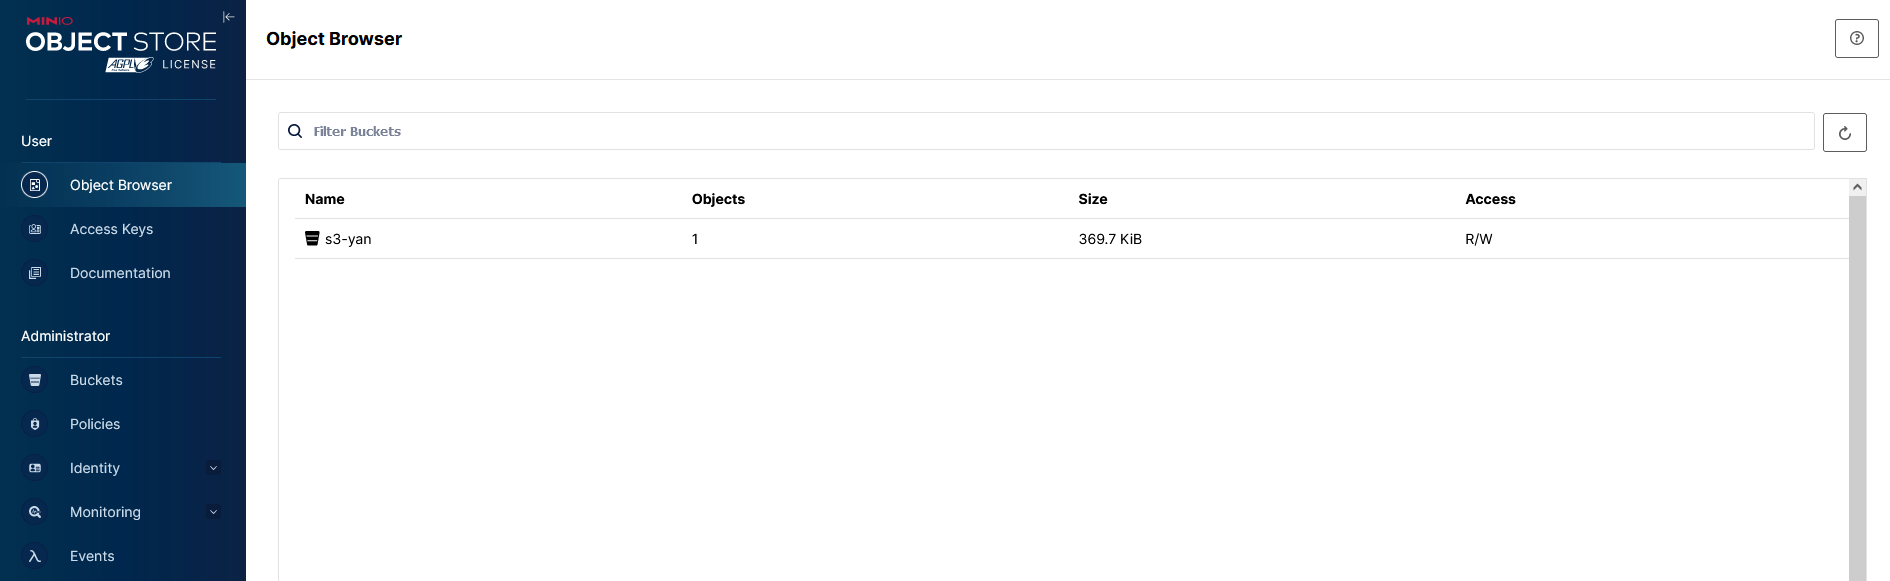
370 KiB Used, 1 Bucket, 1 Object
1 drive online, 0 drives offline
[shawnyan@centos7 ~]$ mc config host ls
gcs
URL : https://storage.googleapis.com
AccessKey : YOUR-ACCESS-KEY-HERE
SecretKey : YOUR-SECRET-KEY-HERE
API : S3v2
Path : dns

local
URL : http://127.0.0.1:9000
AccessKey : minioadmin
SecretKey : minioadmin
API : s3v4
Path : auto

play
URL : https://play.min.io
AccessKey : Q3AM3UQ867SPQQA43P2F
SecretKey : zuf+tfteSlswRu7BJ86wekitnifILbZam1KYY3TG
API : S3v4
Path : auto

s3
URL : https://s3.amazonaws.com
AccessKey : YOUR-ACCESS-KEY-HERE
SecretKey : YOUR-SECRET-KEY-HERE
API : S3v4
Path : dns

[shawnyan@centos7 ~]$
  • 查看存储目录大小
1
2
3
4
[shawnyan@centos7 ~]$ mc du minio/
391KiB 15 objects minio
[shawnyan@centos7 ~]$ mc du minio/data/s3-yan
370KiB 2 objects minio/data/s3-yan

使用 boto3 客户端连接 MinIO

安装 boto3

使用 pip 在本地安装 boto3。

1
2
3
4
5
6
7
8
9
10
11
12
13
14
15
16
17
18
[shawnyan@centos7 s3-yan]$ pip3 install boto3 --user
Looking in indexes: https://mirrors.aliyun.com/pypi/simple/
Collecting boto3
Downloading https://mirrors.aliyun.com/pypi/packages/75/ca/d917b244919f1ebf96f7bbd5a00e4641f7e9191b0d070258f5dc10f5eaad/boto3-1.23.10-py3-none-any.whl (132 kB)
|████████████████████████████████| 132 kB 600 kB/s
Collecting botocore<1.27.0,>=1.26.10
Downloading https://mirrors.aliyun.com/pypi/packages/09/b8/794e0bd260198538ded90c26b353ddb632eab01950d4e7e2e2b8ee510d12/botocore-1.26.10-py3-none-any.whl (8.8 MB)
|████████████████████████████████| 8.8 MB 592 kB/s
Collecting jmespath<2.0.0,>=0.7.1
Downloading https://mirrors.aliyun.com/pypi/packages/07/cb/5f001272b6faeb23c1c9e0acc04d48eaaf5c862c17709d20e3469c6e0139/jmespath-0.10.0-py2.py3-none-any.whl (24 kB)
Collecting s3transfer<0.6.0,>=0.5.0
Downloading https://mirrors.aliyun.com/pypi/packages/7b/9c/f51775ebe7df5a7aa4e7c79ed671bde94e154bd968aca8d65bb24aba0c8c/s3transfer-0.5.2-py3-none-any.whl (79 kB)
|████████████████████████████████| 79 kB 742 kB/s
Requirement already satisfied: urllib3<1.27,>=1.25.4 in /home/shawnyan/.local/lib/python3.6/site-packages (from botocore<1.27.0,>=1.26.10->boto3) (1.26.6)
Requirement already satisfied: python-dateutil<3.0.0,>=2.1 in /home/shawnyan/.local/lib/python3.6/site-packages (from botocore<1.27.0,>=1.26.10->boto3) (2.8.2)
Requirement already satisfied: six>=1.5 in /home/shawnyan/.local/lib/python3.6/site-packages (from python-dateutil<3.0.0,>=2.1->botocore<1.27.0,>=1.26.10->boto3) (1.16.0)
Installing collected packages: jmespath, botocore, s3transfer, boto3
Successfully installed boto3-1.23.10 botocore-1.26.10 jmespath-0.10.0 s3transfer-0.5.2

配置 boto3 客户端

进入 python 交互界面,配置 boto3 连接 MinIO。

1
2
3
import boto3

s3 = boto3.client('s3', endpoint_url='http://localhost:9000', aws_access_key_id='minioadmin', aws_secret_access_key='minioadmin')

创建存储桶

1
2
>>> s3.create_bucket(Bucket='mybucket')
{'ResponseMetadata': {'RequestId': '177956EC4443419A', 'HostId': 'dd9025bab4ad464b049177c95eb6ebf374d3b3fd1af9251148b658df7ac2e3e8', 'HTTPStatusCode': 200, 'HTTPHeaders': {'accept-ranges': 'bytes', 'content-length': '0', 'location': '/mybucket', 'server': 'MinIO', 'strict-transport-security': 'max-age=31536000; includeSubDomains', 'vary': 'Origin, Accept-Encoding', 'x-amz-id-2': 'dd9025bab4ad464b049177c95eb6ebf374d3b3fd1af9251148b658df7ac2e3e8', 'x-amz-request-id': '177956EC4443419A', 'x-content-type-options': 'nosniff', 'x-xss-protection': '1; mode=block', 'date': 'Tue, 08 Aug 2023 07:11:47 GMT'}, 'RetryAttempts': 0}, 'Location': '/mybucket'}

创建成功后,在管理界面也可以看到。

minio3.png

查看存储桶

1
2
>>> s3.list_buckets()
{'ResponseMetadata': {'RequestId': '1779575EA007A195', 'HostId': 'dd9025bab4ad464b049177c95eb6ebf374d3b3fd1af9251148b658df7ac2e3e8', 'HTTPStatusCode': 200, 'HTTPHeaders': {'accept-ranges': 'bytes', 'content-length': '455', 'content-type': 'application/xml', 'server': 'MinIO', 'strict-transport-security': 'max-age=31536000; includeSubDomains', 'vary': 'Origin, Accept-Encoding', 'x-amz-id-2': 'dd9025bab4ad464b049177c95eb6ebf374d3b3fd1af9251148b658df7ac2e3e8', 'x-amz-request-id': '1779575EA007A195', 'x-content-type-options': 'nosniff', 'x-xss-protection': '1; mode=block', 'date': 'Tue, 08 Aug 2023 07:19:58 GMT'}, 'RetryAttempts': 0}, 'Buckets': [{'Name': 'mybucket', 'CreationDate': datetime.datetime(2023, 8, 8, 7, 11, 47, 812000, tzinfo=tzutc())}, {'Name': 's3-yan', 'CreationDate': datetime.datetime(2023, 8, 8, 6, 11, 16, 570000, tzinfo=tzutc())}], 'Owner': {'DisplayName': 'minio', 'ID': '02d6176db174dc93cb1b899f7c6078f08654445fe8cf1b6ce98d8855f66bdbf4'}}

上传对象

1
2
>>> s3.put_object(Body=open('file.txt', 'rb'), Bucket='mybucket', Key='myfile')
{'ResponseMetadata': {'RequestId': '1779578881028A1E', 'HostId': 'dd9025bab4ad464b049177c95eb6ebf374d3b3fd1af9251148b658df7ac2e3e8', 'HTTPStatusCode': 200, 'HTTPHeaders': {'accept-ranges': 'bytes', 'content-length': '0', 'etag': '"a5791e2a3043c189b59c23eea51b3e03"', 'server': 'MinIO', 'strict-transport-security': 'max-age=31536000; includeSubDomains', 'vary': 'Origin, Accept-Encoding', 'x-amz-id-2': 'dd9025bab4ad464b049177c95eb6ebf374d3b3fd1af9251148b658df7ac2e3e8', 'x-amz-request-id': '1779578881028A1E', 'x-content-type-options': 'nosniff', 'x-xss-protection': '1; mode=block', 'date': 'Tue, 08 Aug 2023 07:22:58 GMT'}, 'RetryAttempts': 0}, 'ETag': '"a5791e2a3043c189b59c23eea51b3e03"'}

查看对象

1
2
>>> s3.list_objects(Bucket='mybucket')
{'ResponseMetadata': {'RequestId': '1779579C2F255CF3', 'HostId': 'dd9025bab4ad464b049177c95eb6ebf374d3b3fd1af9251148b658df7ac2e3e8', 'HTTPStatusCode': 200, 'HTTPHeaders': {'accept-ranges': 'bytes', 'content-length': '583', 'content-type': 'application/xml', 'server': 'MinIO', 'strict-transport-security': 'max-age=31536000; includeSubDomains', 'vary': 'Origin, Accept-Encoding', 'x-amz-id-2': 'dd9025bab4ad464b049177c95eb6ebf374d3b3fd1af9251148b658df7ac2e3e8', 'x-amz-request-id': '1779579C2F255CF3', 'x-content-type-options': 'nosniff', 'x-xss-protection': '1; mode=block', 'date': 'Tue, 08 Aug 2023 07:24:23 GMT'}, 'RetryAttempts': 0}, 'IsTruncated': False, 'Marker': '', 'Contents': [{'Key': 'myfile', 'LastModified': datetime.datetime(2023, 8, 8, 7, 22, 58, 846000, tzinfo=tzutc()), 'ETag': '"a5791e2a3043c189b59c23eea51b3e03"', 'Size': 4, 'StorageClass': 'STANDARD', 'Owner': {'DisplayName': 'minio', 'ID': '02d6176db174dc93cb1b899f7c6078f08654445fe8cf1b6ce98d8855f66bdbf4'}}], 'Name': 'mybucket', 'Prefix': '', 'MaxKeys': 1000, 'EncodingType': 'url'}

也可在管理界面查看刚刚上传的对象。

minio4.png

下载对象

1
>>> s3.download_file('mybucket', 'myfile', 'myfile.txt')
1
2
[shawnyan@centos7 ~]$ cat myfile.txt
yan

基于 Nginx 对外提供服务

Nginx 是一个高性能的 HTTP 和反向代理 web 服务器,这里可以使用 Nginx 将 MinIO 转发出去,以供其他用户访问。

nginx 增加配置,监听 80 端口,转发到 MinIO 所在服务器的 9000 端口上。

1
2
3
4
5
6
7
8
9
10
server {
listen 80;
server_name xxx;

location / {
proxy_pass http://xxx:9000;
proxy_set_header Host $host:$server_port;
proxy_set_header X-Real-IP $remote_addr;
}
}

分别测试直接访问 MinIO 对象,及通过 Nginx 访问,均可用。

http://192.168.195.128:9000/s3-yan/rawkv-cdc-arch-simple.png

minio5.png

http://xxx/s3-yan/rawkv-cdc-arch-simple.png

minio6.png

总结

以上示例展示了如何安装 MinIO,并对其进行简单的对象存储操作。接下来将基于此分享更多尝试。


https://www.modb.pro/db/1689077981174652928

  • Title: 浅尝 MinIO 存储
  • Author: 严少安
  • Created at: 2023-08-09 09:06:18
  • Updated at: 2023-08-09 09:06:18
  • Link: https://shawnyan.cn/2023/other/minio-intro/
  • License: This work is licensed under CC BY-NC-SA 4.0.
 Comments