
如何使用 Oracle VirtualBox 7.0 安装 Oracle Linux 9.3
在虚拟化技术日益普及的今天,Oracle VirtualBox 提供了一个功能强大的平台,允许用户在单一物理机上运行多个操作系统。
本文将指导你如何使用 Oracle VirtualBox 安装 Oracle Linux 9.3。
1. Oracle VirtualBox 7.0 介绍
Oracle VirtualBox 7.0 是一款由甲骨文公司(Oracle)开发的高性能、跨平台(Win, macOS, Linux, Solaris)的虚拟化软件。
以下是关于该版本的主要特点和功能:
-
全面支持新操作系统:VirtualBox 7.0 版本提供了对 Windows 11、Windows 2022 等的全面支持。
-
自动化虚拟机构建器:新版本包括了自动化虚拟机构建器,这可能帮助用户更快速、更简单地创建虚拟机环境。
-
Linux系统支持升级:VirtualBox 7.0 支持 Oracle Linux 9.x 和 RHEL 9.x 和 Ubuntu 20.04 LTS、22.04 LTS、23.04,以及 Debian 11、12 等多个主流 Linux 发行版,提升了在 Linux 系统上的虚拟机管理体验。
等。
2. Oracle Linux 9.3 介绍
Oracle Linux 9.3 是 Oracle 公司发布的一款企业级 Linux 发行版,它提供了一系列的新特性和改进,旨在提高性能、安全性和自动化水平。
以下是 Oracle Linux 9.3 的一些关键特点:
- Unbreakable Enterprise Kernel (UEK):Oracle Linux 9.3 搭载了 Unbreakable Enterprise Kernel Release 7 Update 2 (UEK R7U2,5.15.0-200)。
修复了若干安全威胁:
- CVE-2021-4002
- CVE-2022-1679
- CVE-2022-3524
- CVE-2022-3543
- CVE-2022-3707
- CVE-2022-4379
- CVE-2023-0461
- CVE-2023-1073
- CVE-2023-1074
- CVE-2023-1079
- CVE-2023-1095
- CVE-2023-1118
- CVE-2023-20588
- CVE-2023-22024
- CVE-2023-22998
- CVE-2023-22999
- CVE-2023-23004
- CVE-2023-26545
- CVE-2023-30456
- CVE-2023-32233
- CVE-2023-42753
-
与 RHEL 的兼容性:Oracle Linux 9.3 保持了与 Red Hat Enterprise Linux (RHEL) 的完全二进制兼容,是 RHEL 9 的完美平替。
-
更新的编译器和开发工具:包括 GCC 13.1.1、LLVM 16.0.6、Rust 1.71.1 等。
-
安全性提升:OpenSSH 不再使用存在安全漏洞的 SHA-1 消息摘要,而是采用更安全的 SHA-2 算法,并默认强制执行该算法。
-
免费使用和支持:Oracle Linux 自 2006 年以来就可以完全免费下载和使用,源代码、二进制、更新、分发,所有生产使用均免费。
等。
3. 安装 Oracle VirtualBox 7.0
首先,访问 VirtualBox 官网 https://www.virtualbox.org/ 下载并安装 VirtualBox 7.0。
安装完成后,打开 VirtualBox 虚拟机管理器。
4. 安装 Oracle Linux 9.3
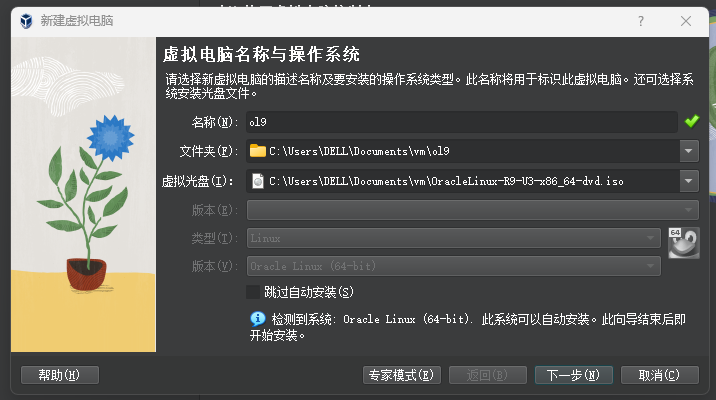
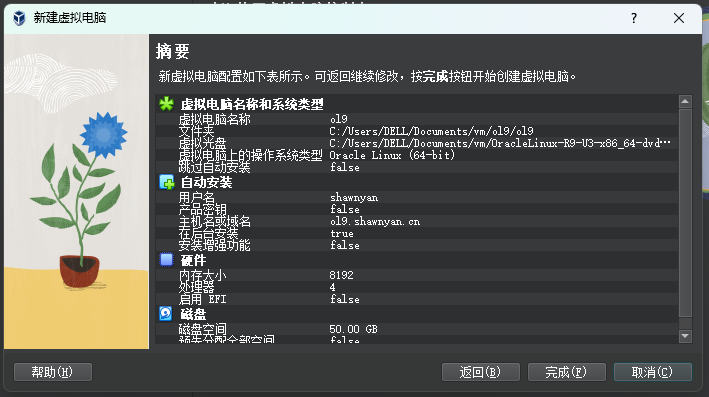
点击 “新建” 创建一个新的虚拟机。
在创建向导中,填写虚拟机名称,选择类型为 “Linux”,版本选择 “Oracle Linux 9.x (64-bit)”。
或者,直接选择 【OracleLinux-R9-U3-x86_64-dvd.iso】 虚拟光盘。
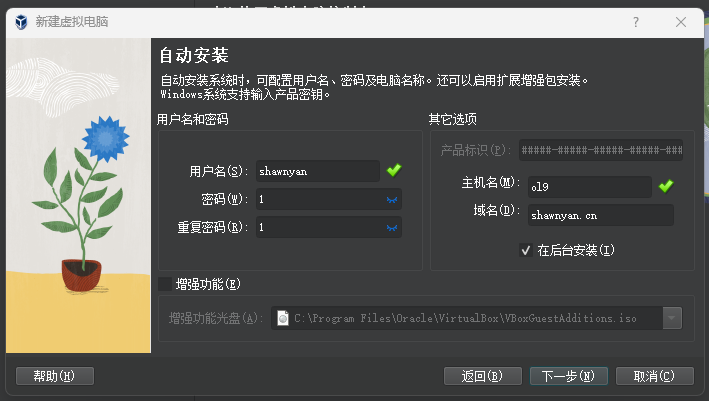
这里选择自动安装,可以修改输入用户名、密码,以及主机名、域名。
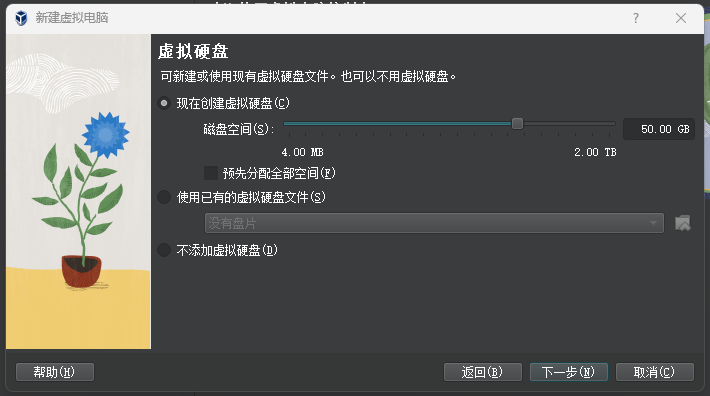
调整硬件配置,分配内存大小,建议至少 4GB,如果物理机内存充足,8GB 更佳。
以及分配 CPU 资源,这里设定为 4c8g。

创建虚拟硬盘,建议设定为 50GB。
点击【完成】,进行下一步。
Oracle VM VirtualBox 会自动进行安装。
点击【显示】,可以看到安装进度。

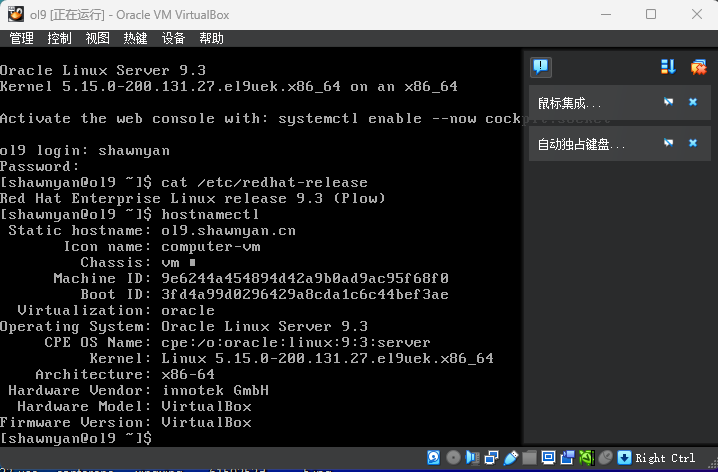
安装完成后,查看系统版本和主机名称。
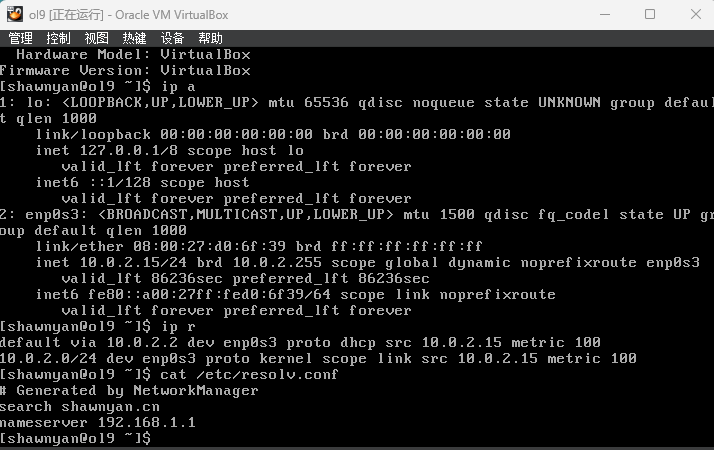
查看 IP 信息,可以看到 IP 地址为【10.0.2.15】,默认网关为【10.0.2.2】。
5. 设置网络端口转发
默认情况下,虚拟机安装完成后,是无法通过第三方工具连接到 vm 的,这里需要增加一些设定。
新增网卡,设置为【仅主机(Host-Only)】模式。
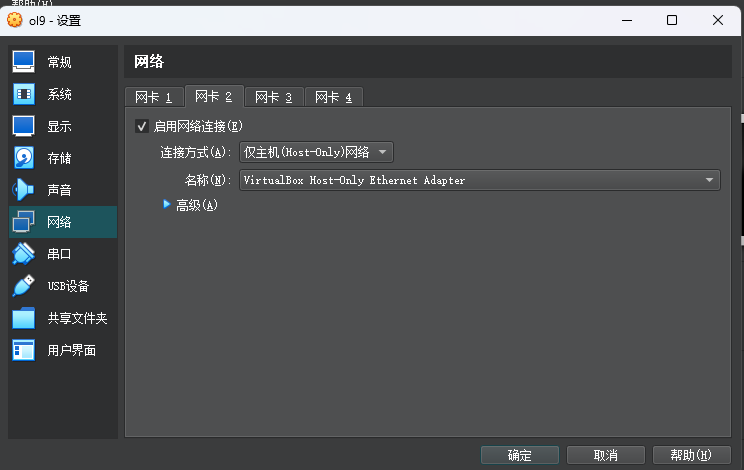
再次启动后,可以看到新增网卡【enp0s8】。
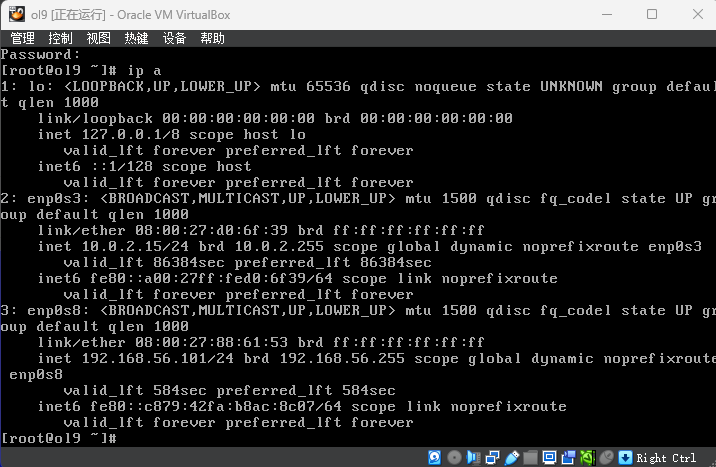
此时,便可以通过第三方工具连接到 VM 中。
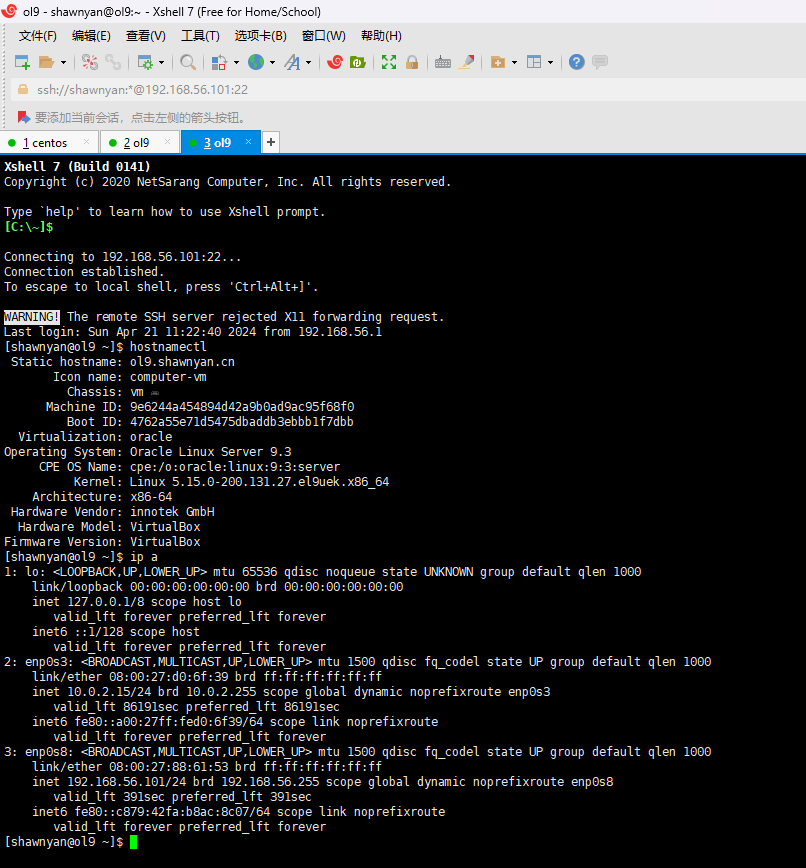
这里使用 xshell 测试连接成功。
6. 验证安装
打开终端,输入一些基本命令,以验证系统是否安装成功并且命令行工具是否正常工作。
常用的 linux 命令有:
-
uname -a:显示系统信息,包括内核版本、主机名、CPU 类型等。
-
hostnamectl:显示当前系统的主机名。
1 | [shawnyan@ol9 ~]$ uname -a |
-
free -h:以易读的格式显示内存使用情况。
-
df -h:以易读的格式显示磁盘空间使用情况。
1 | [shawnyan@ol9 ~]$ free -h |
- ip addr:显示网络接口的配置信息。
1 | [shawnyan@ol9 ~]$ ip addr |
- rpm -qa:列出系统中安装的所有软件包。
1 | [shawnyan@ol9 ~]$ rpm -qa | grep uek |
7. 注意事项
请确保你下载的 Oracle Linux 9.3 ISO 文件来源可靠,以避免安全风险。
下载地址:https://yum.oracle.com/oracle-linux-isos.html
在安装过程中,确保遵循 Oracle Linux 9.3 的具体安装指南,因为不同的发行版可能在安装步骤上有所差异。
安装指南:https://docs.oracle.com/en/operating-systems/oracle-linux/9/install/
如果你在安装过程中遇到任何问题,可以查阅 Oracle VirtualBox 和 Oracle Linux 的官方文档,或在相关社区寻求帮助。
vbox社区论坛: https://forums.virtualbox.org/index.php
生产环境中会进行更多配置,各公司策略有所不同,这里不再演示。
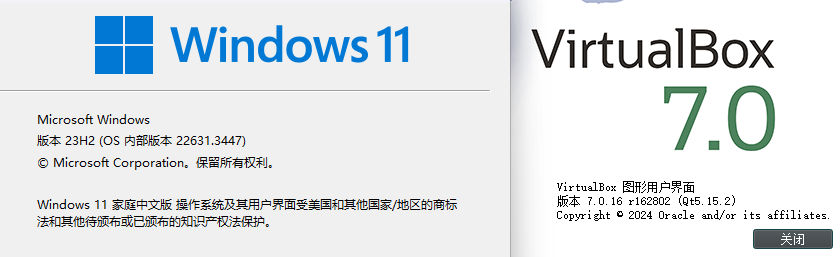
8. 小插曲:遇到 win 的蓝题了
在完成安装后,打算升级下 openssh,结果万万没想到,系统直接蓝屏了。

系统版本为 win 11,具体不晓得是哪个环节的问题了。
先到这里,下一篇,介绍如何安装 Oracle 19c with CDB。
– END. –

如果这篇文章为你带来了灵感或启发,就请帮忙点『赞』or『在看』or『转发』吧,感谢!(๑˃̵ᴗ˂̵)
- Title: 如何使用 Oracle VirtualBox 7.0 安装 Oracle Linux 9.3
- Author: ShawnYan
- Created at: 2024-04-23 23:00:00
- Updated at: 2024-04-23 23:00:00
- Link: https://shawnyan.cn/2024/linux/oracle-linux-9-install-with-vbox-7/
- License: This work is licensed under CC BY-NC-SA 4.0.